Showing posts with label bread. Show all posts

Friday, August 07, 2009

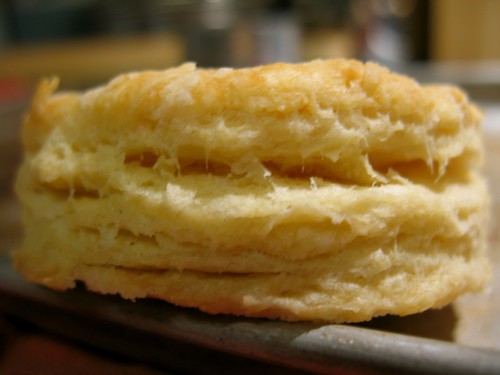
I present to you... biscuits!


Ah biscuits. Such a basic part of American cuisine, so humble, and yet so complex. The perfect biscuit is light but rich, flaky yet sturdy, the marriage of little more than flour and fat. Ah, but the road to that marriage can sometimes be bumpy!

I've been making biscuits for many years, but only recently have I been achieving the results that I really wanted. The recipe I use is from the book James McNair's Favorites, which is one of my all-time favorite cookbooks, and possibly the most vegan-friendly omni cookbook out there. But I digress.

Ok- this is what you need in your arsenal for perfect biscuits: good quality flour (I really can't justify using anything other than King Arthur Flour), some primo vegan non-hydrogenated shortening (I use Earth Balance sticks), a pastry cutter (fine, fine, I've used forks before), a nicely pre-heated oven, and tons of patience and practice. Oh and last but not least, you need a ridiculously sharp biscuit cutter.

Before I move on to McNair's recipe (with a few veganizing tips!), here is what he has to say:
As a youngster, I always asked for 'white' biscuits, which means cooked only until the tops were barely beginning to brown. I still like them this way. If you prefer a browner top, brush the biscuits with melted butter before baking. If you enjoy the sides crusty, arrange the biscuits about 1 inch apart in the baking pan: for soft sides, arrange them touching.
Offer butter and good jelly, jam, honey, or syrup with the biscuits.
Buttermilk Biscuits, from James McNair's Favorites, p. 411 (makes 12):
  • solid vegetable shortening, at room temperature, or cooking spray for greasing (optional)
  • 2 cups all-purpose flour
  • 2 teaspoons baking powder
  • 1/2 teaspoon baking soda
  • 1/2 teaspoon salt
  • 1/2 cup solid vegetable shortening (this is 1 stick of Earth Balance shortening)
  • 3/4 cup buttermilk (which, every good vegan knows, is 3/4 cup soymilk with 1 teaspoon of vinegar mixed in, the mixture allowed to sit and curdle for a few moments)
Position racks so that the biscuits will bake in the middle of an oven and preheat the oven to 400˚F. Using a pastry brush, lightly greast a baking sheet or pan with shortening or coat with spray or line with kitchen parchment. Set aside.

In a bowl or food processor, combine the flour, baking powder, baking soda, and salt. Cut in the shortening with your fingertips, a pastry blender, or steel blade until the mixture resembles coarse bread crumbs. If using a food processor, transfer the mixture to a bowl. Add the buttermilk and stir just until the mixture sticks together.

Turn the dough out onto a lightly floured surface and knead lightly and quickly (Bazu says: lightly and quickly being the operative words! This step is what you need to practice.) about 30 seconds. Using a lightly floured rolling pin, roll out about 1/2 inch thick. Using a floured 2 1/2 inch round biscuit cutter, cut out circles. (Bazu says: use a quick, deliberate up/down cutting motion- don't twist the biscuit cutter- this is key for getting a good rise, and the perfect flaky texture) Place on the prepared sheet.

Bake until lightly browned, 10 to 12 minutes. Serve piping hot.

Enjoy!


Share/Save/Bookmark

Thursday, October 09, 2008

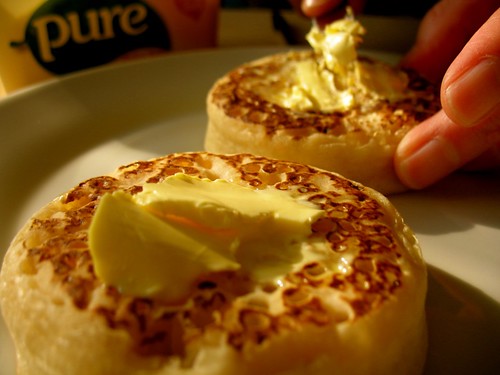
crumpets.


Happiness is a warm crumpet out of the toaster, slathered with margarine, ready to go with your cup of tea. 


Share/Save/Bookmark

Wednesday, August 20, 2008

bagels R us


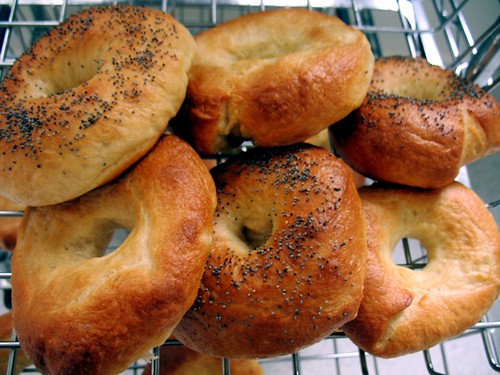
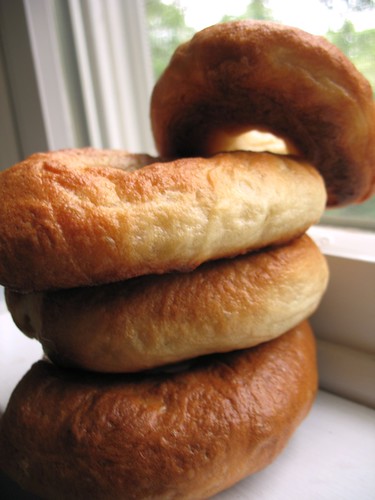
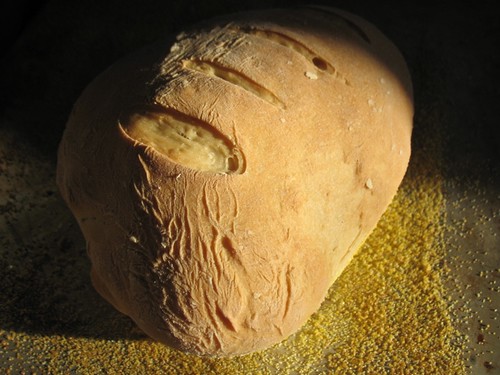
If you ask me what my favorite meal is, I will answer without hesitation: brunch. Brunch has so much possibilities- from light to substantial, sweet to savory, and everything in between. Lucky for me, I have had the opportunity to test recipes for Isa Chandra Moskowitz's next cookbook which just happens to be dedicated to brunch. One of the best things about testing for this book is that it has made me cook and bake things that I previously thought too difficult and complicated. I love Isa's DIY philosophy- why buy something that you can make easily, healthfully, and cheaply? Case in point: bagels. If you're like me, you've probably put off making homemade bagels because of the seemingly intricate technique. But I'm here to tell you that it's mind-blowingly easy and doesn't even take that long.

Don't believe me? Check it out:


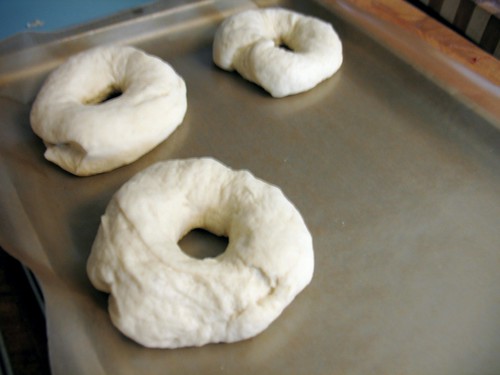
After a short rise, shape your dough. Don't worry about perfection!


Boil for a few minutes in a saltwater solution.


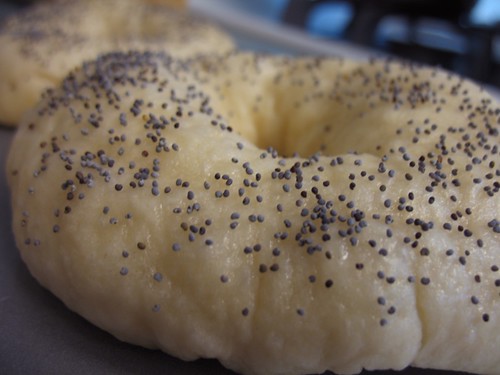
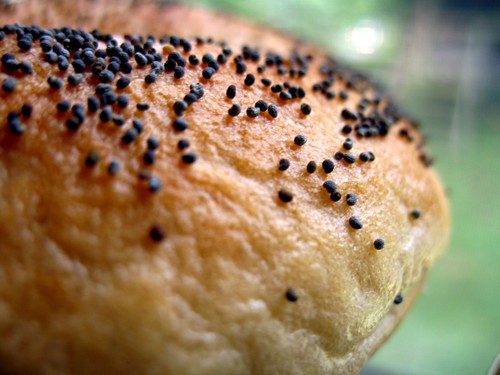
Top with favorite toppings- such as poppy seeds.


Bake.


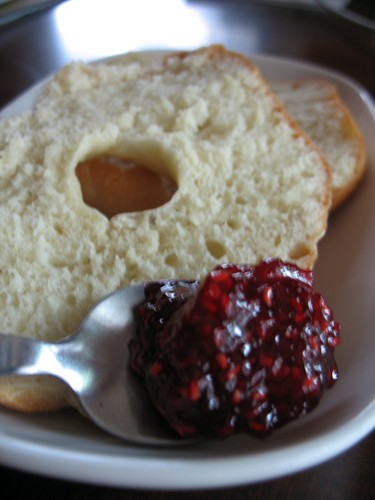
Perhaps with some homemade raspberry jam?


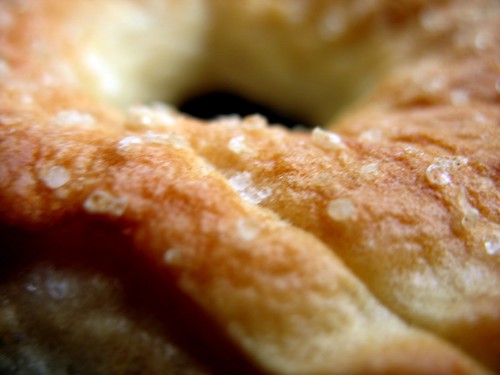
Try all kinds of different flavors and toppings- Daiku and I especially liked these salt bagels- the sea salt really brought out the fresh-baked flavor.

We've since tried whole wheat and rye versions of these bagels. For a relatively simple investment of time and effort, the results are incredibly rewarding. Fresh bagels will never be in short supply at brunch in our home now!

P.S. An update on my fundraiser for the La-No-Che orphanage. It is going wonderfully! Everyone's generosity has truly touched my heart. As you can see in the update at the top right of the blog, we have exceeded our goal and the donations are still rolling in every day! It seems as if you guys really want me to jump out of that plane...! And I will be doing that in exactly one month. I'm still trying to figure out how best to live-blog from the jump site. Thank you all so much, and I will be emailing all donors to thank them personally in time.

Share/Save/Bookmark

Monday, May 19, 2008

3 loaves, no fishes


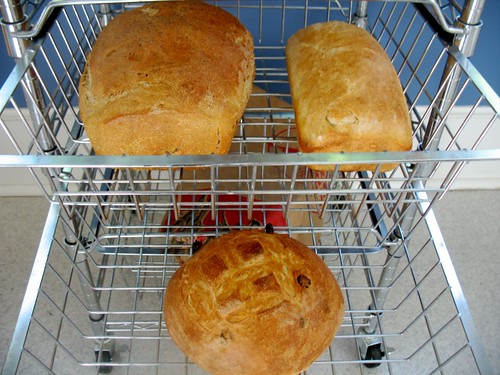
I love baking bread. Everything from taking out your frustrations while kneading the dough to smelling the intoxicating smell of bread wafting from the oven is really exciting. However, all that work to make one loaf of bread, one loaf that often disappears in a mere day or two? Not so good. So, I decided to feed not one, but two big batches of sourdough starter and make not one, but three big loaves of bread last week!


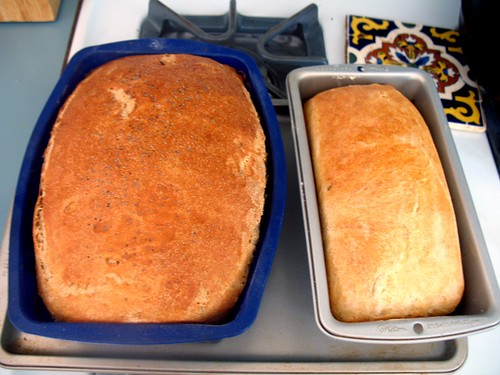
I decided to make two loaves of sandwich bread. As you can see above, the silicone pan expanded a bit! The bread on the left is a combination of white bread flour, rye flour, and semolina flour, with cranberries and a maple sugar swirl, topped with poppy seeds. The bread on the right is a combination of white bread flour, spelt flour, and rye flour, with raisins and a cinnamon/date sugar swirl.


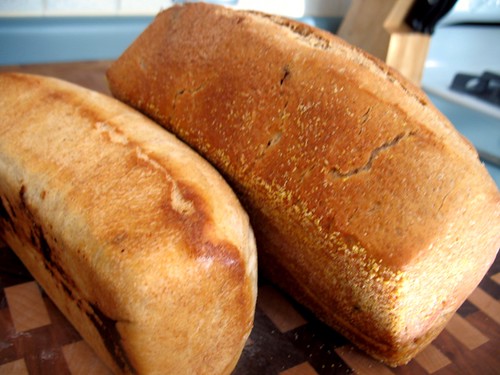
Here they are out of their pans and ready for the cooling rack. I was so happy with how they came out, especially because I improvised and didn't really follow a recipe.


You'll notice my swirl skills need a little bit of work! This bread still tasted great and made wonderful cinnamon toast.


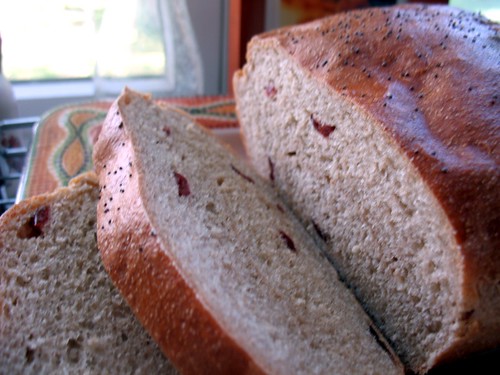
Ok, you can barely even see the swirl in this loaf! But it's there, I promise!


The final bread was a free-form loaf, the same as the raisin bread above, but without the cinnamon swirl. I love the combination of dried fruit and sourdough bread because the resulting bread is flavorful, but not too sweet, and perfect for sweet or savory uses.


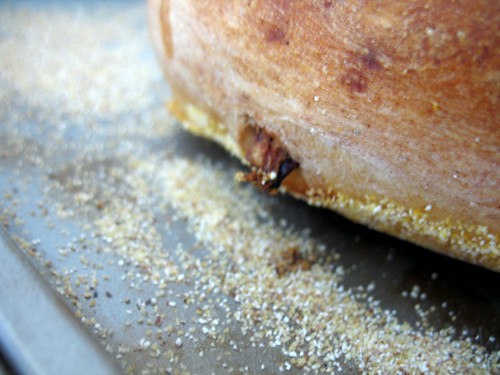
Here's an X-treme close-up of a raisin poking out of the bread. Baking multiple loaves of bread at one time is a great strategy. It doesn't take considerably more time or energy to make three instead of one, but you are left with a bigger payoff for that work. The great thing about sourdough is that it acts as a natural preservative, and so breads made with sourdough starter don't go stale as quickly. However, to keep them at optimum freshness (and to guarantee that we wouldn't finish them too quickly!) I sliced and froze half of each loaf. This makes for convenient toast at a moment's notice. It's also fun to experiment with ingredients and flavors. Next time you decide to make a loaf of bread, why not make two? Or more?


Share/Save/Bookmark

Sunday, April 06, 2008

gifts that keep on giving


It's ridiculous to be blogging about Christmas gifts 5 months after the fact, right? But I just had to take a moment to talk about 2 amazing gifts that I've been using ever since then.


First, this cutting board from Bridget. It's gorgeous, isn't it? What's even more wonderful is that it's handmade by her husband. I have always admired this kind of artistry and woodworking, and now I have a beautiful example of it in my kitchen.


I've decided to devote it to bread baking. So if you're ever at my house and I offer you a slice of homemade bread, you'll know where it came from!


Second, a gift from Bridget and Trac: homemade ravioli!


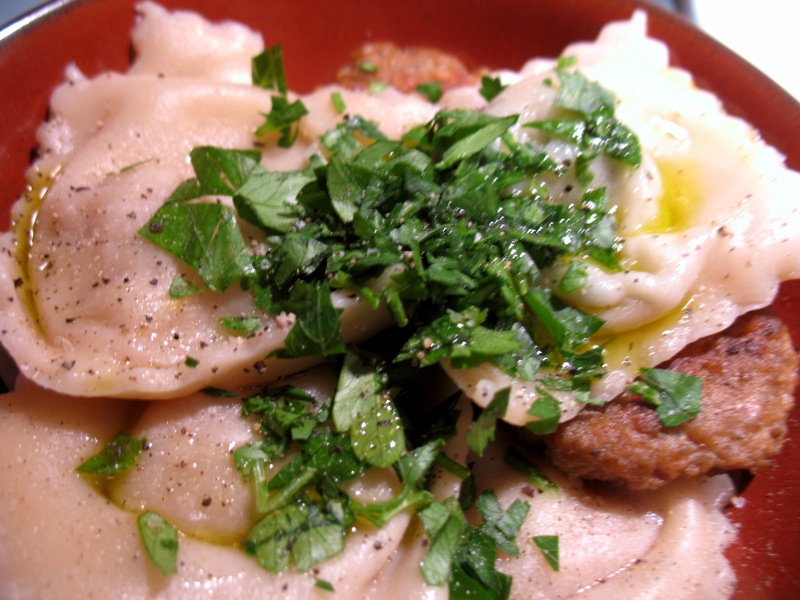
Daiku and I were so lucky to be on the receiving end of so many hours of their labor! We got several filling flavors, including tofu/spinach (pictured above), pumpkin, and sun-dried tomato. Since we got these ravioli the day before we left for L.A., we froze them, and so had a stockpile of delicious home-made food when we came back.


It was only last week that we finally finished them -vegan ravioli is a rare treat to be savored, after all! They were so flavorful that the best way to eat them was the simplest- here you see the ravioli with a few pieces of sausage, a drizzle of extra virgin olive oil, some chopped parsley, and generous amounts of sea salt and fresh pepper.

Wow.

A belated thank you to you ladies!


Share/Save/Bookmark

Wednesday, April 02, 2008

party, giveaway, and news!


birthday lilies

Hi everybody! In this post I want to share some birthday wonderfulness with all of you. Usually, I don't make a huge deal out of my birthday, but this year we had a group of friends come together, and the results were too fun and too delicious to keep to myself. So here are some scenes (and recipes) from our little partay this past weekend:


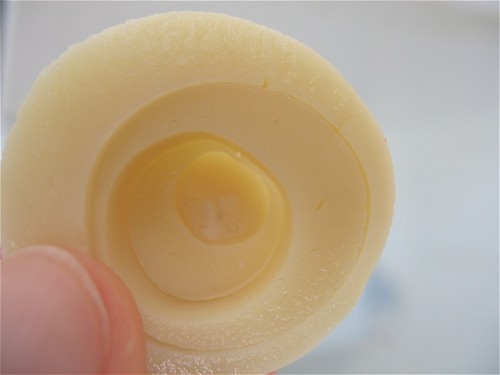
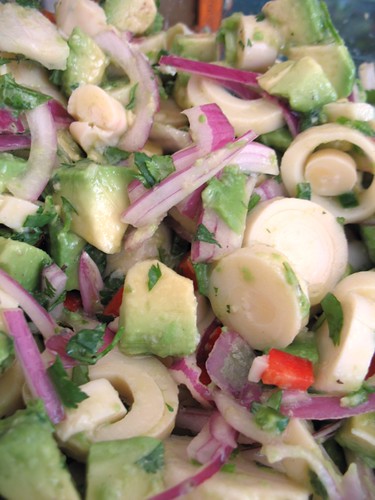
Do you remember my vegan ceviche from last year? I decided to make it again, with a few tweaks to the recipe. Once again I used sliced jarred hearts of palm because of their pretty shape, great taste, and eerie resemblance to calamari. This time, I marinated together:

1 jar of hearts of palm, sliced into 1/2 inch rounds
2 ripe but firm avocados
1/3 large red onion, sliced thinly
1/4 red bell pepper, sliced thinly
1 small jalapeño pepper, minced finely
the juice of 2-3 organic lemons, plus 1/4 c. fresh-squeezed orange juice
splash olive oil
sea salt, freshly cracked black pepper, and a tiny smidge of powdered coriander


this is what it looked like after a few hours of marinading in the fridge


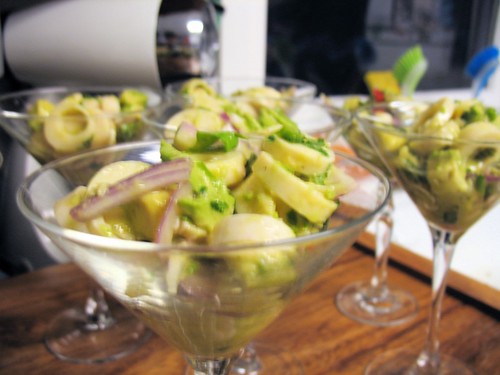
and this was the ceviche in martini glasses, ready to be passed around at the party


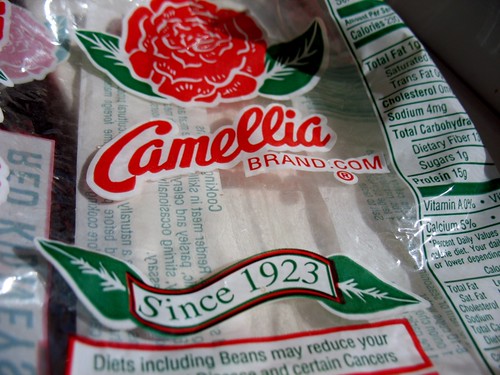
for an entrée, we finally whipped out the Camellia red beans that Kittee had sent us back around Mardi Gras, and Daiku made his famous New Orleans red beans & rice


here it is, served with white rice and garnished with chopped parsley and Tobasco sauce. These beans are so simple, and yet taste so otherworldly, they make me fantasize about traveling down south. Mmmmm.


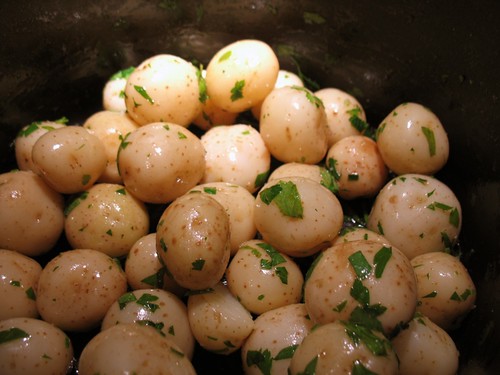
We also decided to pass around tapas-style potatoes. To make them, we simply steamed these tiny white potatoes, and then tossed with coarse sea salt, parsley, and truffle-scented olive oil,


and served with this improvised aioli sauce comprised of vegannaise mayo, lemon juice, garlic powder, and paprika.


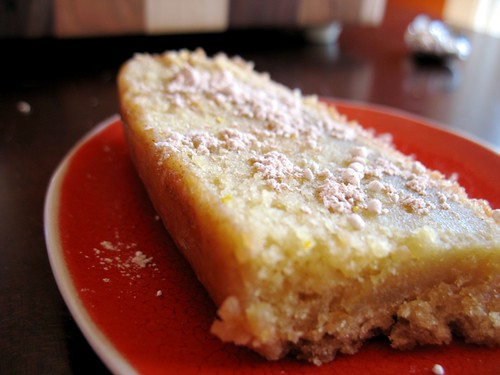
My friend Heather baked a birthday cake for me by veganizing her favorite orange pound cake recipe! Gorgeous, no? This cake was so good, full of orange juice and zest, spiked with orange liqueur, and topped with cinnamon and powdered sugar. I am so grateful to friends like her, willing to step outside of their food/baking comfort zones and making this vegan birthday girl very happy indeed! (another baked treat veganized by my friend Rachel, but devoured too quickly to be photographed: banana bread! I have to get a picture of this some time soon, Rachel has perfected the art of making her banana bread create a pudding-like layer at the bottom... words would not do it justice)


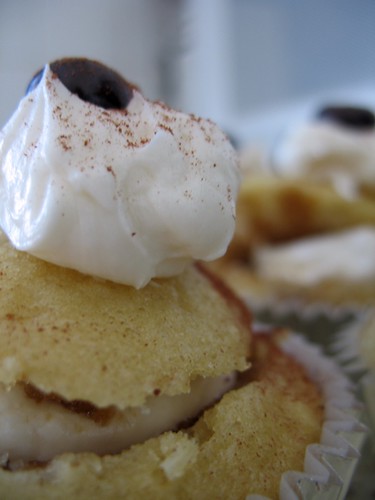
Of course, I had to bake too. I'd been craving tiramisu cupcakes from Vegan Cupcakes Take Over the World for way too long to hold out any longer! These little guys were composed of golden vanilla cupcakes soaked with an espresso/Kahlua mixture, topped with dollops of cream cheese frosting and cocoa powder and finished off with dark-chocolate covered espresso beans. Oh my.


The term 'food porn' was invented for moments like this!


Our party fell on the night of Black Out For Earth Hour - and thanks to a reminder by Tracy, we managed to turn out our lights from 8 to 9 to participate in this event for the environment! As you can see in the above photo, this hour turned into a kind of campfire moment- we all sat around with only candles for light, eating, drinking, and sharing funny stories. It was so fun!


birthday spring bouquet

* * *

Ok, I promised to share my exciting news with you guys, so here it is!

But first, the small matter of the pool. I had a lot of fun reading your guesses as to what I was going to say. I don't want to choose one winner! So I've decided that everyone who guessed can be a winner. The prize? Some of my beloved sourdough starter so that you guys can have as much fun at home baking sourdough bread (and pancakes and biscuits and waffles and pizza...) as I do!


I've even created a blog email address for this event: wherestherevolution (at) gmail (dot) com. So if you made a guess on this blog, would like some sourdough starter and instructions in the mail, and live in the U.S. (I had to it this way, I'm not sure about the advisability of mailing live cultures through international mail), email me with your address! I will wait 1 week, or until the first 10 requests have come in, whichever happens first, to mail them out.

Ok, without further ado, here's the news:

Daiku and I are moving* to England!!

(woo woo!)

*Ok, it's not a permanent move, but for 5 months starting in late August or September, we will be living in Canterbury. For a time at least, we will be British Bloggers, and I can't wait. So all you Brits out there, please, I could use all your advice! And when I come over, I hope you know there will be meet-ups galore! This vegan's going international, yo.


a map showing Canterbury, in the southeast corner of England (click to enlarge)


birthday begonias


Share/Save/Bookmark

Friday, November 30, 2007

veganmofo: we hardly knew ye!


Oh my gosh - can you believe VeganMoFo is over? Can you believe 30 days have gone by? I have to admit, I'm a little sad to see this challenge end- I've never blogged this frequently! I've learned that the more frequently I post, the more I enjoy blogging. It's also been interesting to note that the times when I blog most frequently are the times when I'm most productive in other areas of my life- I've gotten so much done this past month! I have also discovered lots of new blogs as a result of it, which has been a great thing.

This month, on our blogs, we've seen the best of what vegan food can be: delicious, inventive, comforting, time-saving, frugal, healthy, as well as what vegan food is on an everyday basis. We've eaten alone or with crowds, with friends or family, with fellow vegans or omnis, at home and on the road, decadently or ascetically, experimentally or reliably. It's been wonderful- there is no shortage of information on the internet should anyone ever go looking for it. Recipes, tips, warnings, shortcuts, recommendations... oh my.


For the final VeganMoFo post, I decided to do something quick and simple: a recipe for an onion-dill-rye sourdough bread. Vivacious Vegan asked me if I was having any luck baking whole grain sourdoughs, and the answer is yes! So far, I've baked multi-grain rolls, rye breads, and spelt breads. The difference when using whole grain is that the bread can take a lot longer to rise, so budget extra time. Also, I've accepted that my sourdough breads can't be 100% whole grain, since the starter gets fed with white flour. Often, the proportion is about 60 - 70% whole grains, 30 - 40% white flour. This is just fine with me, because it's the best of both worlds- the texture, crumb, and body of white flour, off-set by the flavor, fiber, and nutrition of grains. (The more I bake, honestly, the more I respect white flour)

So here's the recipe: (adapted from the
Yankee Grocery)

2 cups warm water (about 110 degrees F)
1 cup sourdough starter batter at room temperature
4 cups all-purpose flour, unsifted
4 cups rye flour, unsifted
2 Tablespoons light molasses
2 teaspoons plain or iodized salt
1 Tablespoon caraway seeds
2 Tablespoons dried dill
2 Tablespoons dried onion flakes
1 teaspoon baking soda
Hot water as required (see step #4)
  1. In a large glass or ceramic bowl, combine water, starter batter and 4 cups of the flour. Cover with clear plastic wrap and let stand in a warm place (85 degrees F) for 8 to 12 hours.

  2. Stir in the rye flour, molasses, salt, caraway seeds, dill, onion flakes and baking soda, to form a very stiff dough. Knead until smooth. (Add more flour if you need it) Cover and let rise in a warm place until the mixture is doubled in size, about (2 to 2 1/2 hours).

  3. Punch down and divide in half. Knead gently until smooth. Shape each half into loaf or round, Cover loaves lightly; let rise again in a warm place until puffy and almost doubled in size, about (1 to 1-1/2 hours).

  4. Carefully place a small pan on the shelf, below the oven baking rack, and fill it with hot water.

  5. Place your sourdough rye bread loaves on the baking rack, close the oven door and bake in a preheated (400 degree F) oven for 10 minutes. Then brush your sourdough bread loaves with the baste mixture. (edit 12/3: the baste mixture is 1 teaspoon cornstarch brought to a boil with 1 cup water, then cooled to room temperature. Thanks, Mihl, for catching the omission!) Close the oven door and continue baking for 20 to 25 minutes more until the loaves are golden brown and sound hollow when tapped.

  6. Remove the loaves from the oven and place on a cooling rack until cooled down to room temperature. Now for the hardest part of all in this baking recipe. Allow your loaf to cool completely (about 2 hours) before cutting into it. A loaf of sourdough bread is not fully flavored until it is fully cool. Also, bread is much easier to slice when cool.


Because our house has been so cold lately, I heat the oven for about 1-2 minutes, let it cool down a bit, and store my dough in there, covered with plastic wrap, for its first rise. I sometimes let this first sponge sit for up to 12 hours (overnight). I haven't gotten sick of sourdough yet- I hope to try more recipes soon!

To all my readers and fellow VeganMoFo-ers, thanks for this journey! I've fallen a bit behind on visiting all of your blogs, but I promise to catch up this weekend- I've missed you all!


Share/Save/Bookmark

Thursday, October 25, 2007

sourdough semolina saffron bread


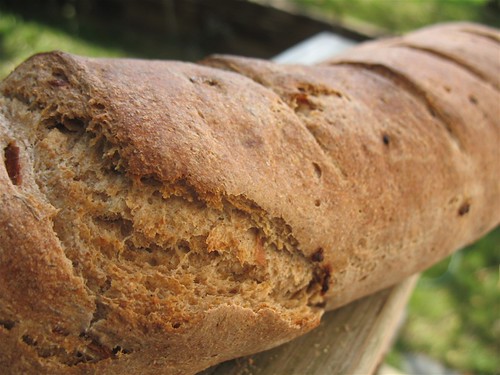
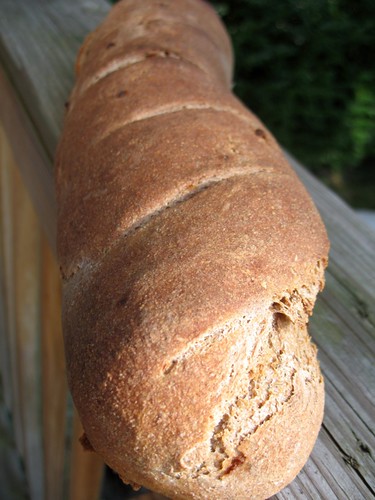
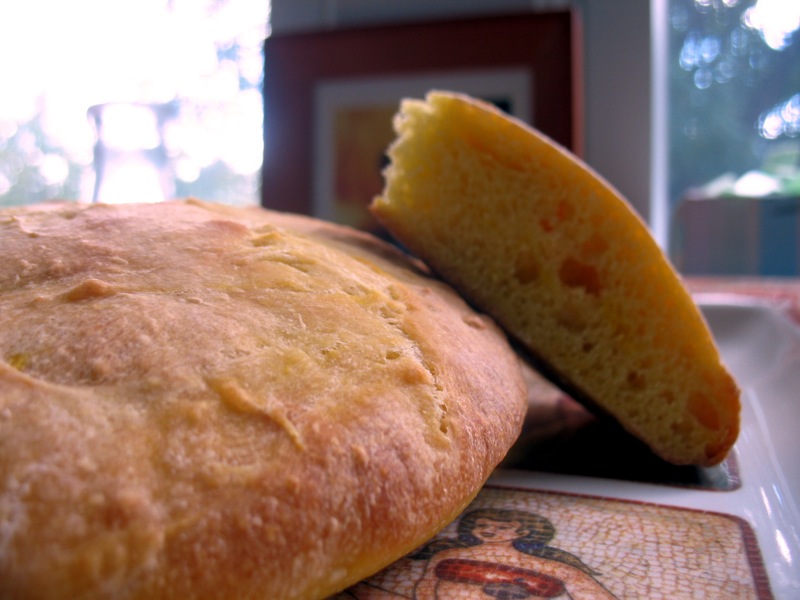
I have been experimenting with sourdough more and more, and have been amazed by the variety of things that it can make! Just recently, I made sourdough biscuits, which I had never before even considered as a possibility - but boy were they good with chili! One of the more intriguing recipes I've come across has been this recipe for semolina sourdough bread. I had had a bag of semolina flour sitting around forever, and this bread looked like a beautiful way to use it. Baking the bread as indicated (replacing the honey called for with agave nectar), yielded a wonderful bread, with the best flavor and texture of any bread I've baked before! Encouraged, I decided to switch things up a tiny bit, and came up with the idea for a semolina sourdough loaf infused with saffron. Here are some illustrations from the process. It's a rather long process (almost 24 hours all together), but most of that time is not hands-on, and the end results are worth it. There is nothing as comforting and yet somehow empowering as spending a day baking bread!


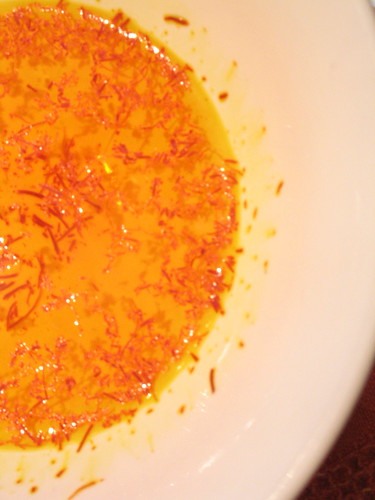
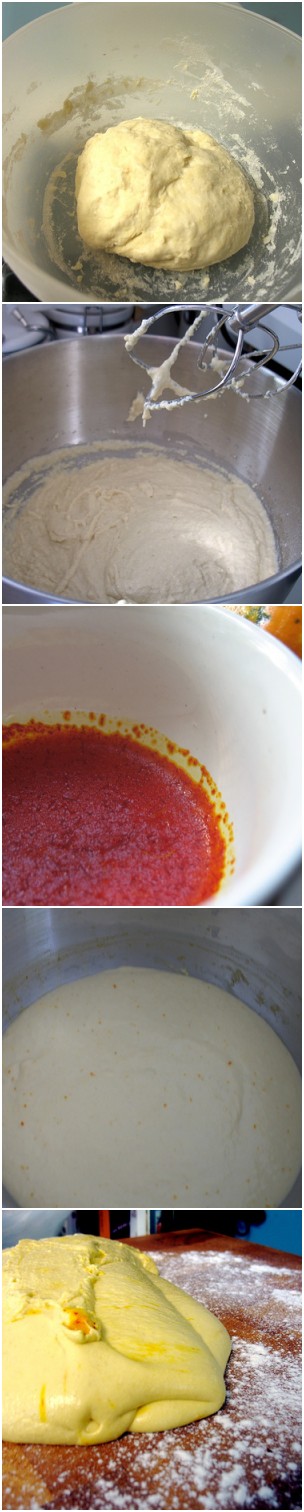
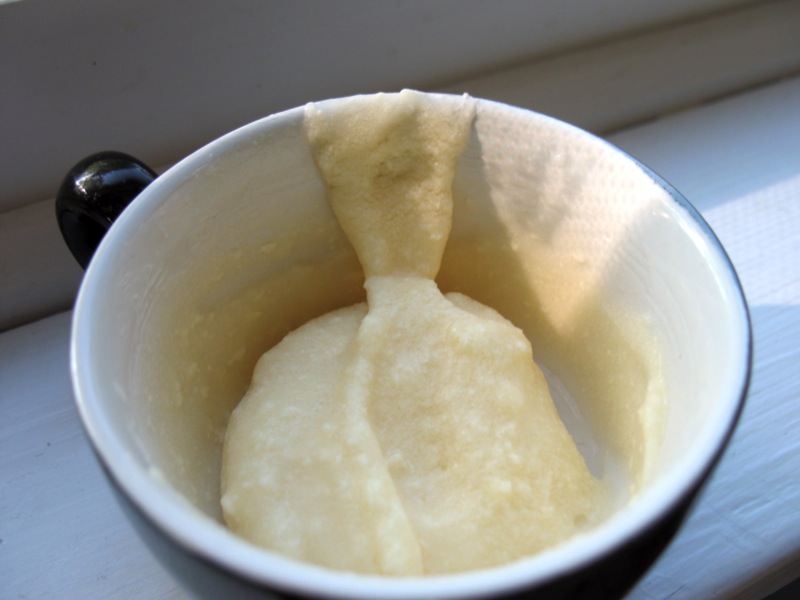
Top to bottom: sourdough starter formed into a "starter dough", the mixture of semolina and all-purpose flour, saffron soaking in warm water, mixed dough with flecks of saffron, and risen dough (look how yellow!) ready to be shaped into loaves. To infuse the bread with saffron, I added a mixture of 1 tsp saffron (ground) that had soaked in 2 TB of hot water for a few minutes in the first stage of mixing (before the first rise).


The result was an aromatic and strongly flavored bread. I realize now that I could tinker with this recipe some more, perhaps increase the sweetener a bit to offset the saffron flavor.


But it's an awesome bread to for sweet (drizzled with tahini and agave nectar), or savory uses, like this sandwich with Melody's tester tofu feta and radish greens:


I'm submitting this post to Sunita's World blog, for her monthly spice event, "Think Spice!" This month's spice, obviously, is saffron, a flavor near and dear my heart as it plays a huge role in Iranian cuisine.
  • If you like saffron, here's another post from last year with saffron playing a starring role.
  • To catch up with my sourdough spree, check out my sourdough post


If you scroll down all the way to the bottom of this blog, you'll see that I've joined the Foodie BlogRoll, a huge compendium of other foodie blogs. I get inspired daily by foodie blogs, and am thrilled to be joining their ranks (and representing vegan cuisine to boot!)


Share/Save/Bookmark

Thursday, September 27, 2007

the sourdough post


Imagine my happiness at arriving home one day to find an envelope in the mail from Jody. In it, she had sent me a bit of sourdough starter that has been passed down for decades! I had been a little leery about starting a relationship with a sourdough starter, since I had managed to kill one before, but Jody assured me that this particular batch is hardy as hell, and nearly impossible to kill.

Well, she was right! We revived and fed the starter the night we received it, and the next morning, we were ready to have...


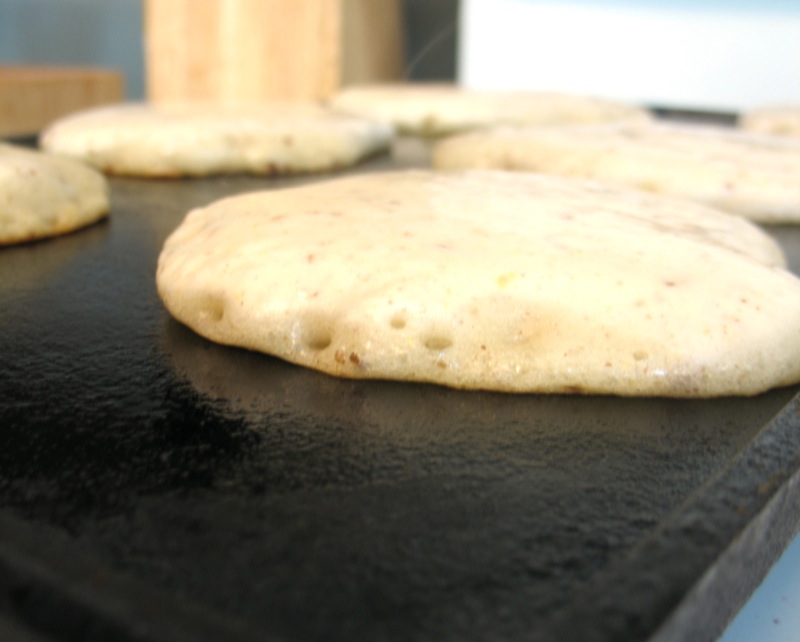
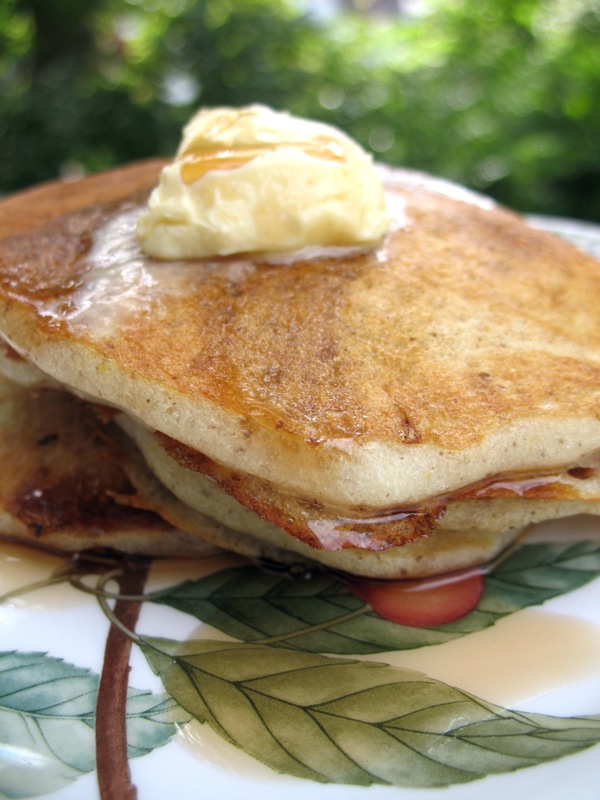
Sourdough pancakes!! Daiku and I are both huge fans of sourdough (having grown up in the Bay Area, I have enjoyed my fair share of San Francisco sourdough bread), but had never tried it in pancake form.


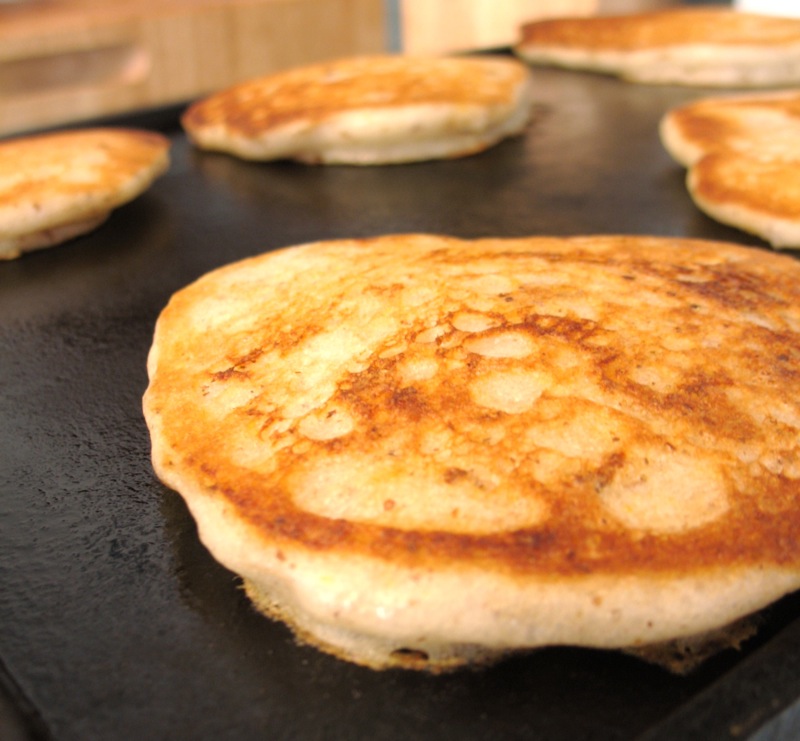
Not only were these suckers fluffy, golden, and beautiful, but they were delicious!


Served with a little bit of Earth Balance and maple syrup, they were melt-in-your-mouth heaven.

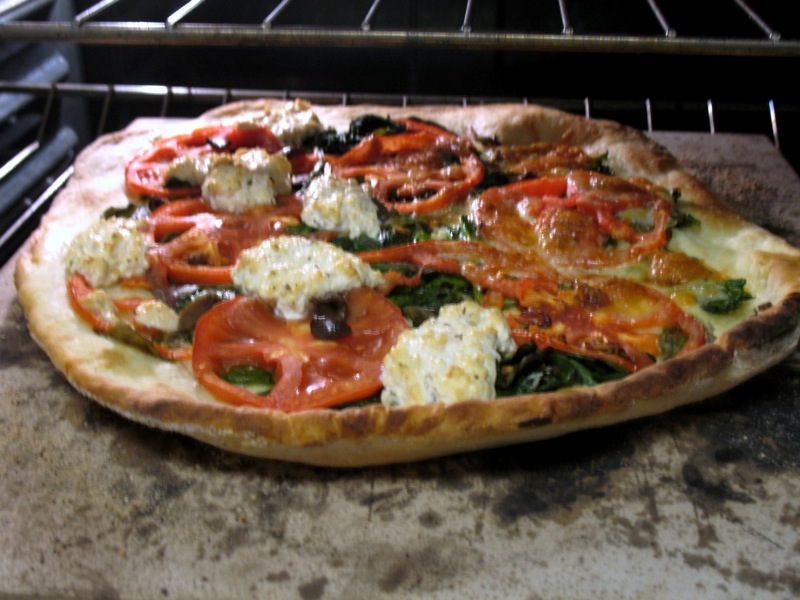
Next up, sourdough pizza dough:


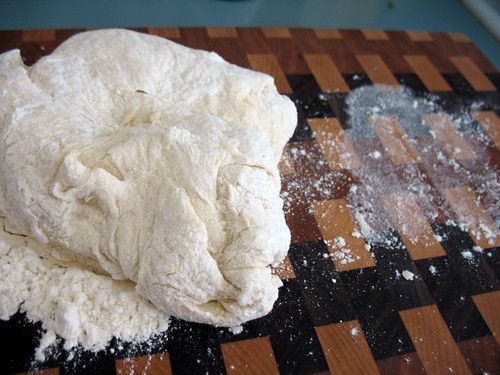
Holy mother of crust, this was magnificent! The dough is actually quite easy to make, and doesn't take that long to rise. This is the cool thing about sourdough- it's like a shortcut to baking, since the starter is like a seasoned sponge that otherwise would take hours and hours to achieve.


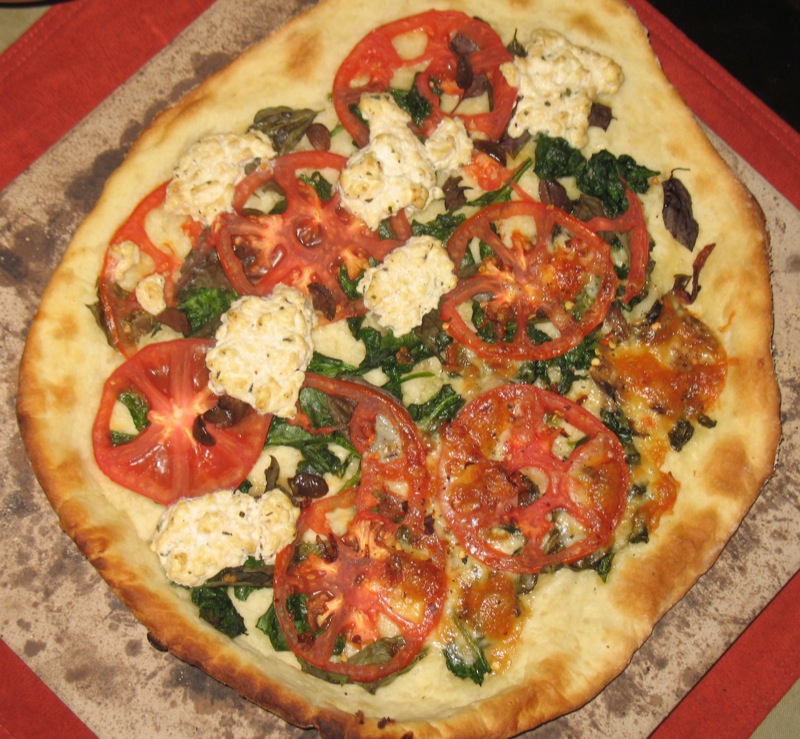
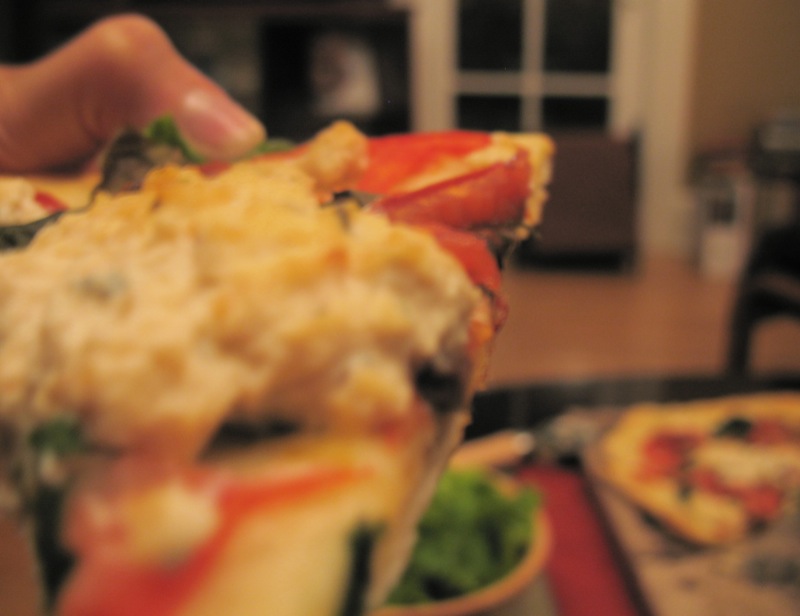
After par-baking the crust and brushing it with olive oil, we topped it with fresh garlic, heirloom tomatoes, spinach, black olives, and basil from the garden. I topped my half with tofu ricotta, and Daiku topped his half with (dairy) white cheddar.

This pizza was, in a word, amazing. We kept marveling at the professional results our dough achieved, how it had the perfect flavor and flaky texture, and how this was the closest we'd ever come to duplicating the unique characteristics of New York-style pizza.


Look how the thin crust stood up to the load of toppings!

Ok, we had had our fun- now it was time to get down to serious business: sourdough bread.


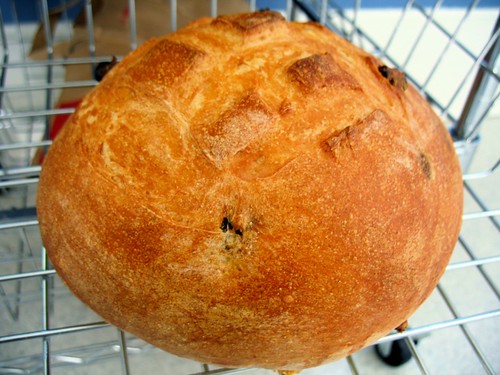
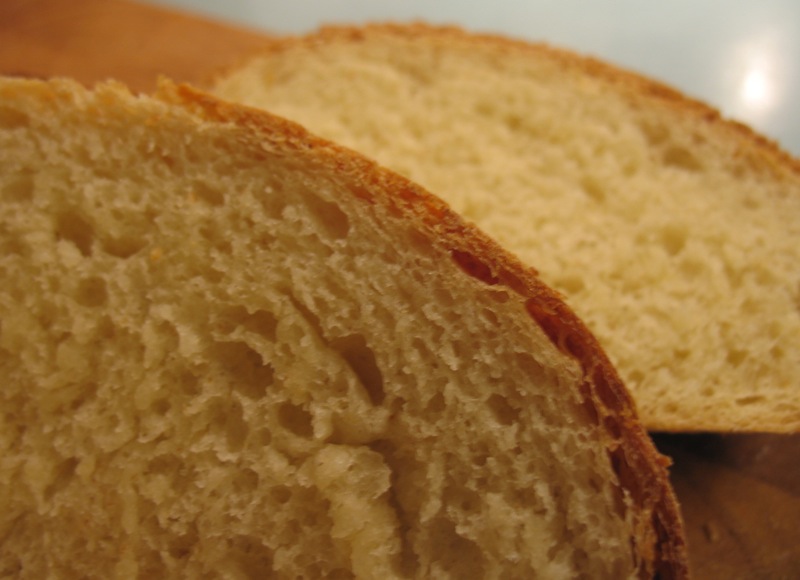
This was the first attempt. I loved how soft the bread came out (perfect for sandwiches).


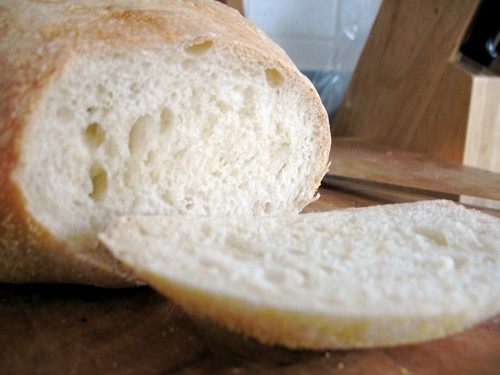
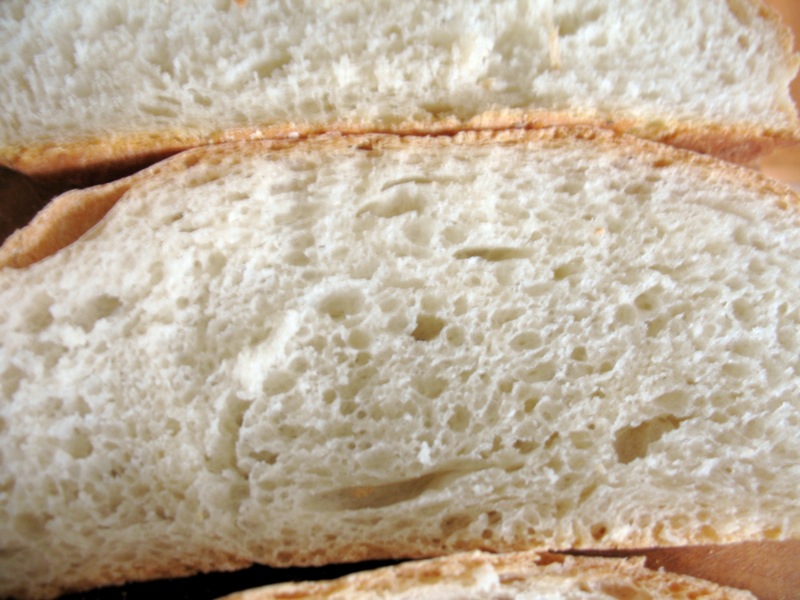
And how good the inside looked.


It was just the thing for recreating one of my all-time favorite breakfasts from childhood. My mom used to make me honey butter, basically a mixture of honey and butter, to put on toast. Nowadays, I simply make it with a mixture of Earth Balance and agave nectar, and it is so good.


With some nice toast, a handful of fresh walnuts, and some strong black tea, you have yourself a pretty damn good breakfast.

After getting a feel for the starter and how it behaves, I branched out and decided to make crusty baguette-style bread and rye bread with the starter.


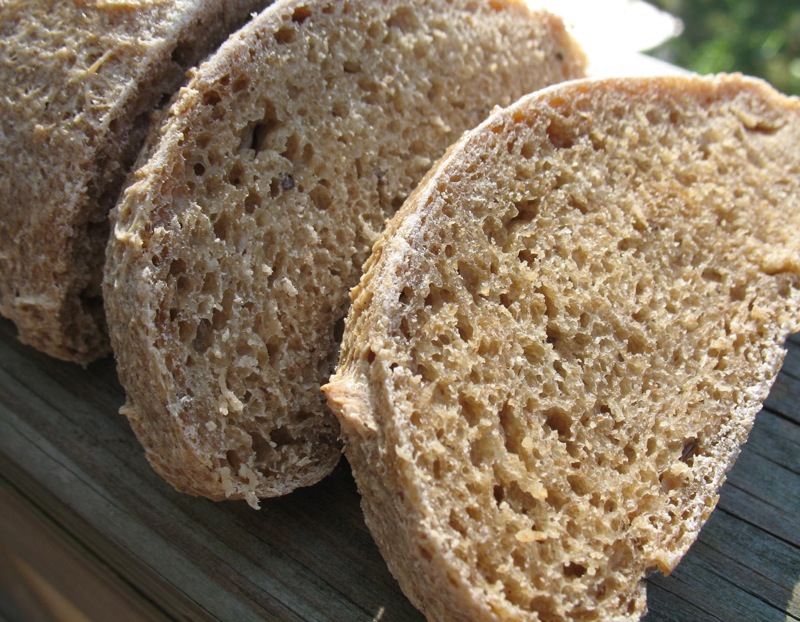
Here is one of the rye loaves, sprinkled throughout with caraway seeds. So tasty!

One last bonus bread, this one not sourdough:


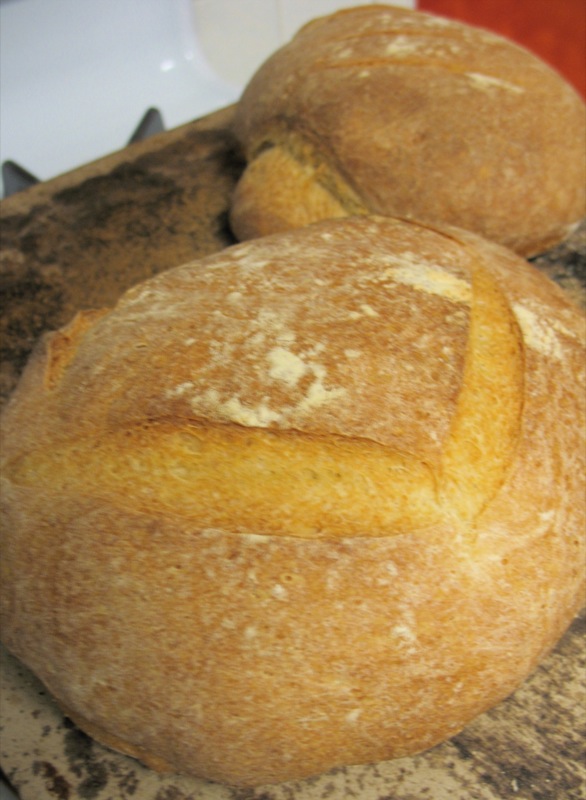
This is Bryanna's European-style crusty bread recipe, and it is so great. This is the first time I have achieved a truly crusty bread with wonderful taste and texture. The only slight modifications I made to the recipe are that I used less wheat germ than called for (because I ran out), and that I added about a tablespoon of wheat gluten.

Whatever- this bread was excellent. My goal, as I practice with the sourdough more and more, is to achieve the texture, crust, and consistency of this bread in sourdough form.

Jody, thank you so much for bringing sourdough into our lives- it rocks!

Some of Bazu's tips and observations on sourdough so far:
  • Since sourdough can react with metal, I've only used glass or ceramic containers and wooden chopsticks to handle it. We keep it in a large pickle jar in the refrigerator, with the lid loosely placed on top
  • Why are there so many sourdough recipes on-line that call for yeast? Sourdough starter is its own yeast and rising agent- why "cheat" by adding yeast? (See, I've had this starter for two weeks and already I'm a sourdough snob!) But seriously- you don't need yeast if you're working with a starter.
  • Sourdough bread gets more sour as it cools and rests
  • To achieve the most sour bread possible, go with the longest rising time possible. San Francisco sourdough bread is often the product of 24-36 hours of rising! I find that long, cool temperature rising results in a flavor I like better than the quicker rising in warm temperatures. This is good- it means lots of yummy bread in the cold-weather months coming up!
  • Just to be safe, I have put a bit of our starter to "sleep" (i.e. froze it), in case something goes wrong with the batch we're working with.
  • I need a waffle maker- hello sourdough waffles!
Recipes from this post: (I didn't follow most of these recipes exactly, but played around with them- sourdough is incredibly forgiving)

Sourdough pancakes
Sourdough pizza dough
Crusty sourdough baguette and crusty rye bread (I loved the cornstarch baste trick- the breads came out glistening, enough to rival any egg wash)
Sourdough tips and tricks
Bryanna's European-style crusty bread
.
Share/Save/Bookmark